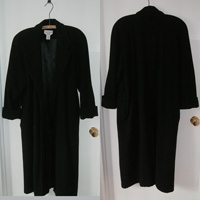
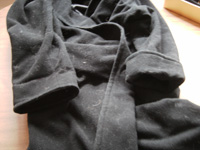
How-to - Before
Find a coat that fits, but has room for improvement. This coat was held together by a belt that was removed before the pictures were taken.

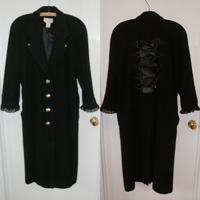
How-to - After
Buttons, lace and ribbon make a huge impact without crossing the line of "too much".

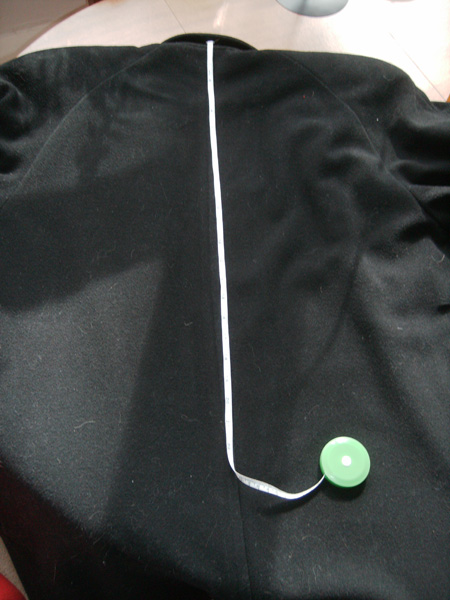
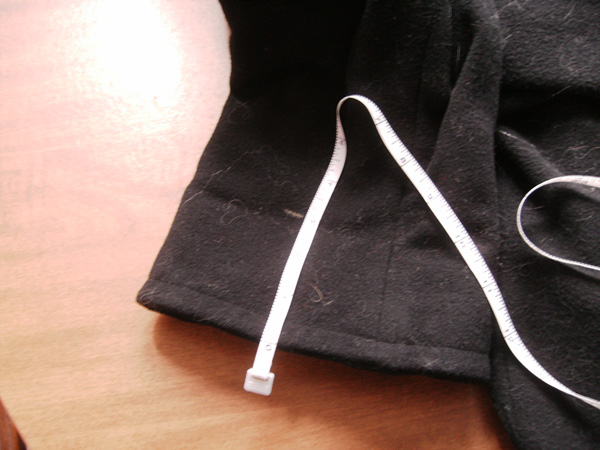
How-to - Step 1
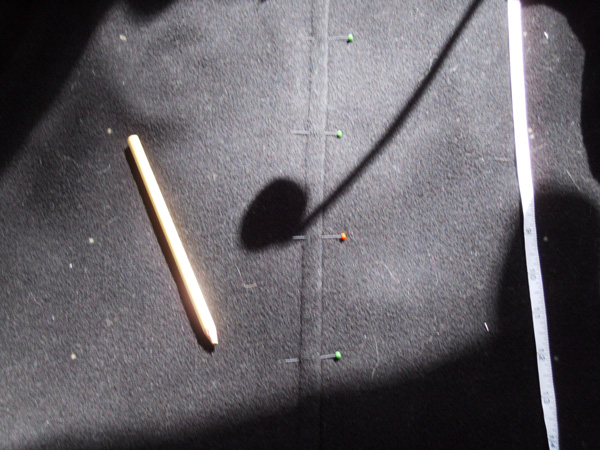
Measure from the back of the collar to the waist.

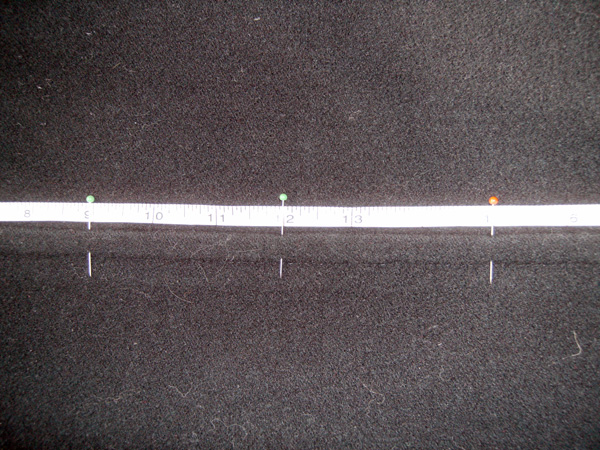
How-to - Step 2
Mark, with pins, the spacing you want for the corset lacing. It's hard to see, but I used 3" for my spacing.
How-to - Step 3
Cut a section of 1" cotton twill tape for each d-ring you want to use. Each piece of tape needs to be long enough to sew onto the back of the coat with the ring in place.


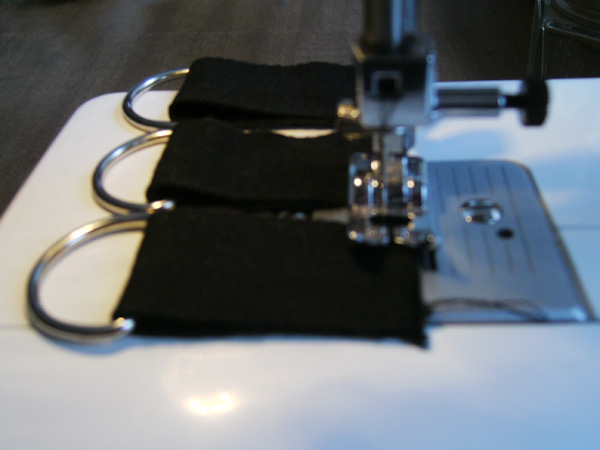
How-to - Step 4
Fold the twill tape around the flat part of the d-ring and stitch closed. Turn the twill tape inside out to hide the tape edges.

How-to - Step 5
Using the middle pins as a guide, measure straight from the centre and make a clear mark on each side of every pin.

How-to - Step 6
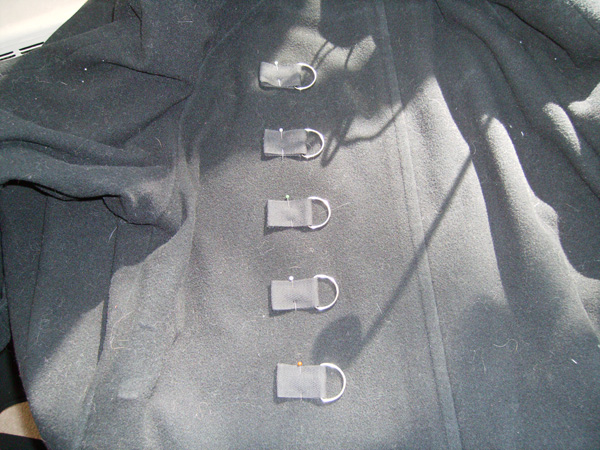
Pin the rings to the coat, making sure the seamed end is placed so that the mark hits the middle of the tape's edge.
How-to - Step 7
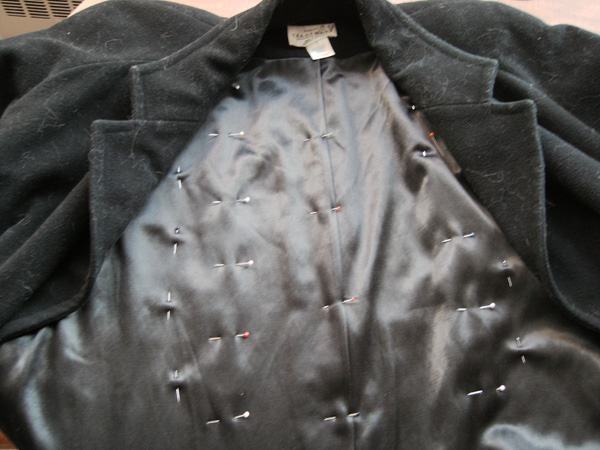
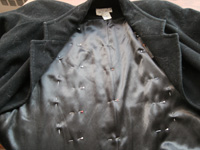
Finish pinning the d-rings to the coat. Add extra pins to keep the lining from moving around and stitch securely through all layers (tape, coat fabric AND lining).
How-to - Step 8
On the front, measure, mark and put in button holes on one side and sew your chosen buttons on the other.

How-to - Step 9
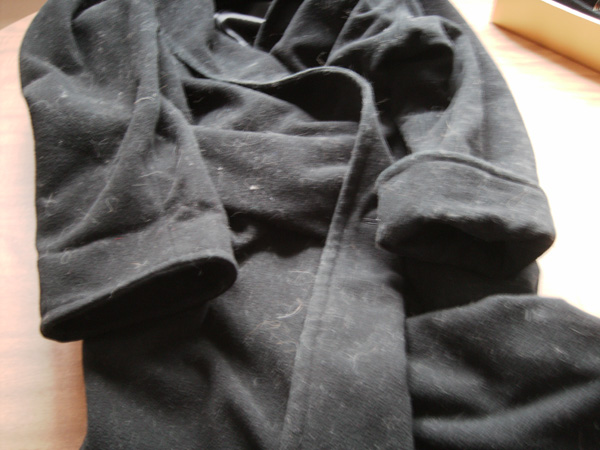
This coat had rolled up cuffs and the sleeves were a bit too long. First, unroll the cuff.
How-to - Step 10
Measure and mark the right length, leaving enough to turn in for a seam.

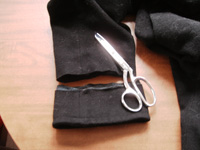
How-to - Step 11
Mark all the way around and cut off excess.

How-to - Step 12
Turn in 1/2" or so of both the outside and the inside of the cuff so that the folded edges meet evenly. Pin and sew together.
How-to - Step 13
Pin cotton lace to the cuff. Lace can be ruffled beforehand or simply pin loosely as I have done here.

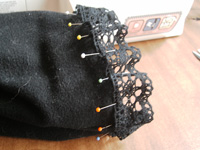
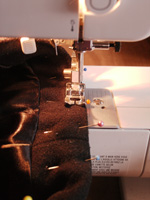
How-to - Step 14
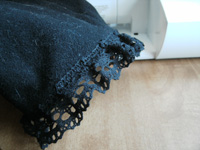
Sew the lace onto the bottom of the cuff. Now you have a modified coat.

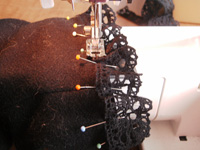
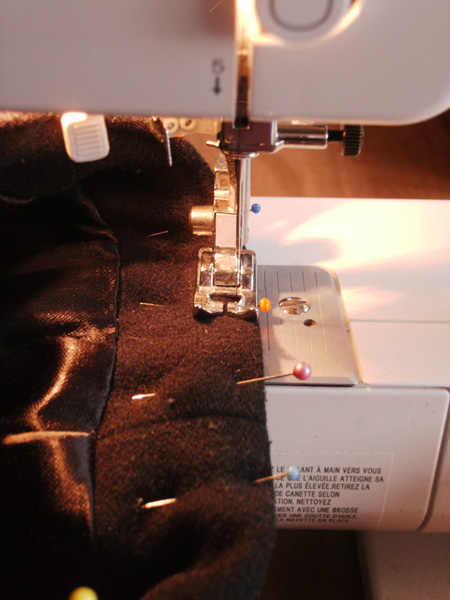
How-to - Lace Detail
Instead of gathering the lace beforehand, I let the machine push the loose lace over pins, leaving a gently pleated look.

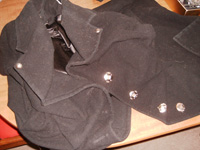
How-to - Front Detail
Two different types of buttons(2 at the collar as decoration and 4 for closures) give the front visual interest.

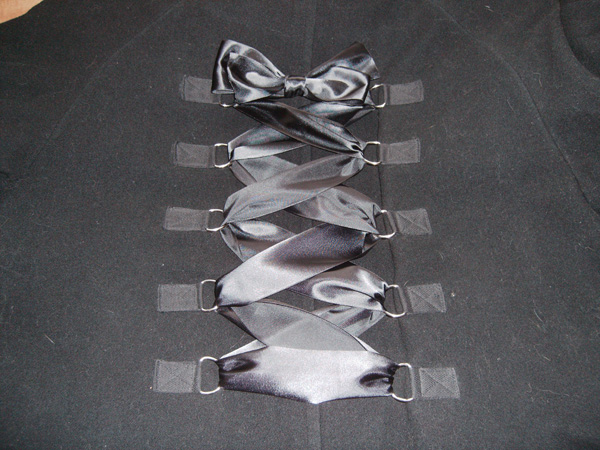
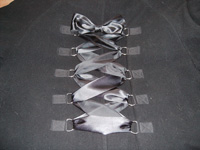
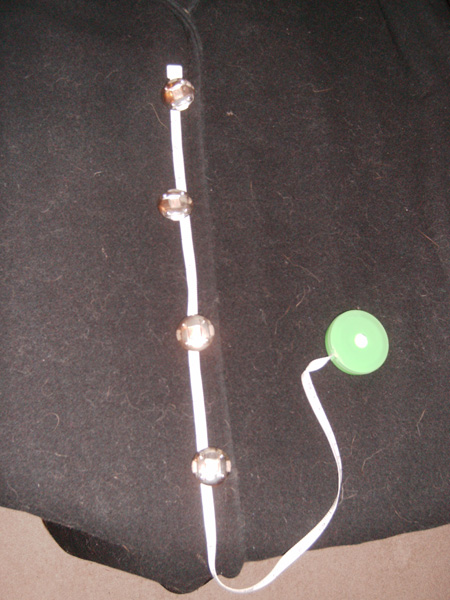
How-to - Back Detail
The corset lacing not only looks good, but is also sturdy enough be used to resize the coat for a better fit.